Friday, September 21, 2012

Honeycomb

A while ago I was sitting thinking about what I could make next... Honeycomb came to mind. I hadn't ever made candy before and I wondered how hard it would be to make. So, a quick Google search lead me to this recipe. I looked it over and decided I thought I could make it! My cousin was here for a visit not too long ago and I knew he liked honeycomb. So, I thought it was the perfect time to try it out.


Here is the link to the recipe again:  Honeycomb recipe


Okay... here is the story... I tried making the honeycomb. The first time it didn't turn out at all! I totally burnt it, I fully blame this on the candy thermometer I was using. I know what you are thinking... Silly Lane she just burnt the candy and is trying to blame it on the thermometer. But I fully believe that it was the candy thermometer! Well we got it all fixed, my Auntie took me out and got a new thermometer and then she and I made it together. In all honesty I was scared to try it again by myself! So thank you Auntie Jenny for helping me out! It ended up turning out great! But since I didn't have my camera ( or photographer) with me I made it again at home for the blog.

 Okay here goes -


Start by lining your baking pan with foil.


 Then spray the foil with cooking oil.


Next get a big pot ready with your candy thermometer...


  Add your sugar in to the pot.


Then your corn syrup...


...honey...


...and water.


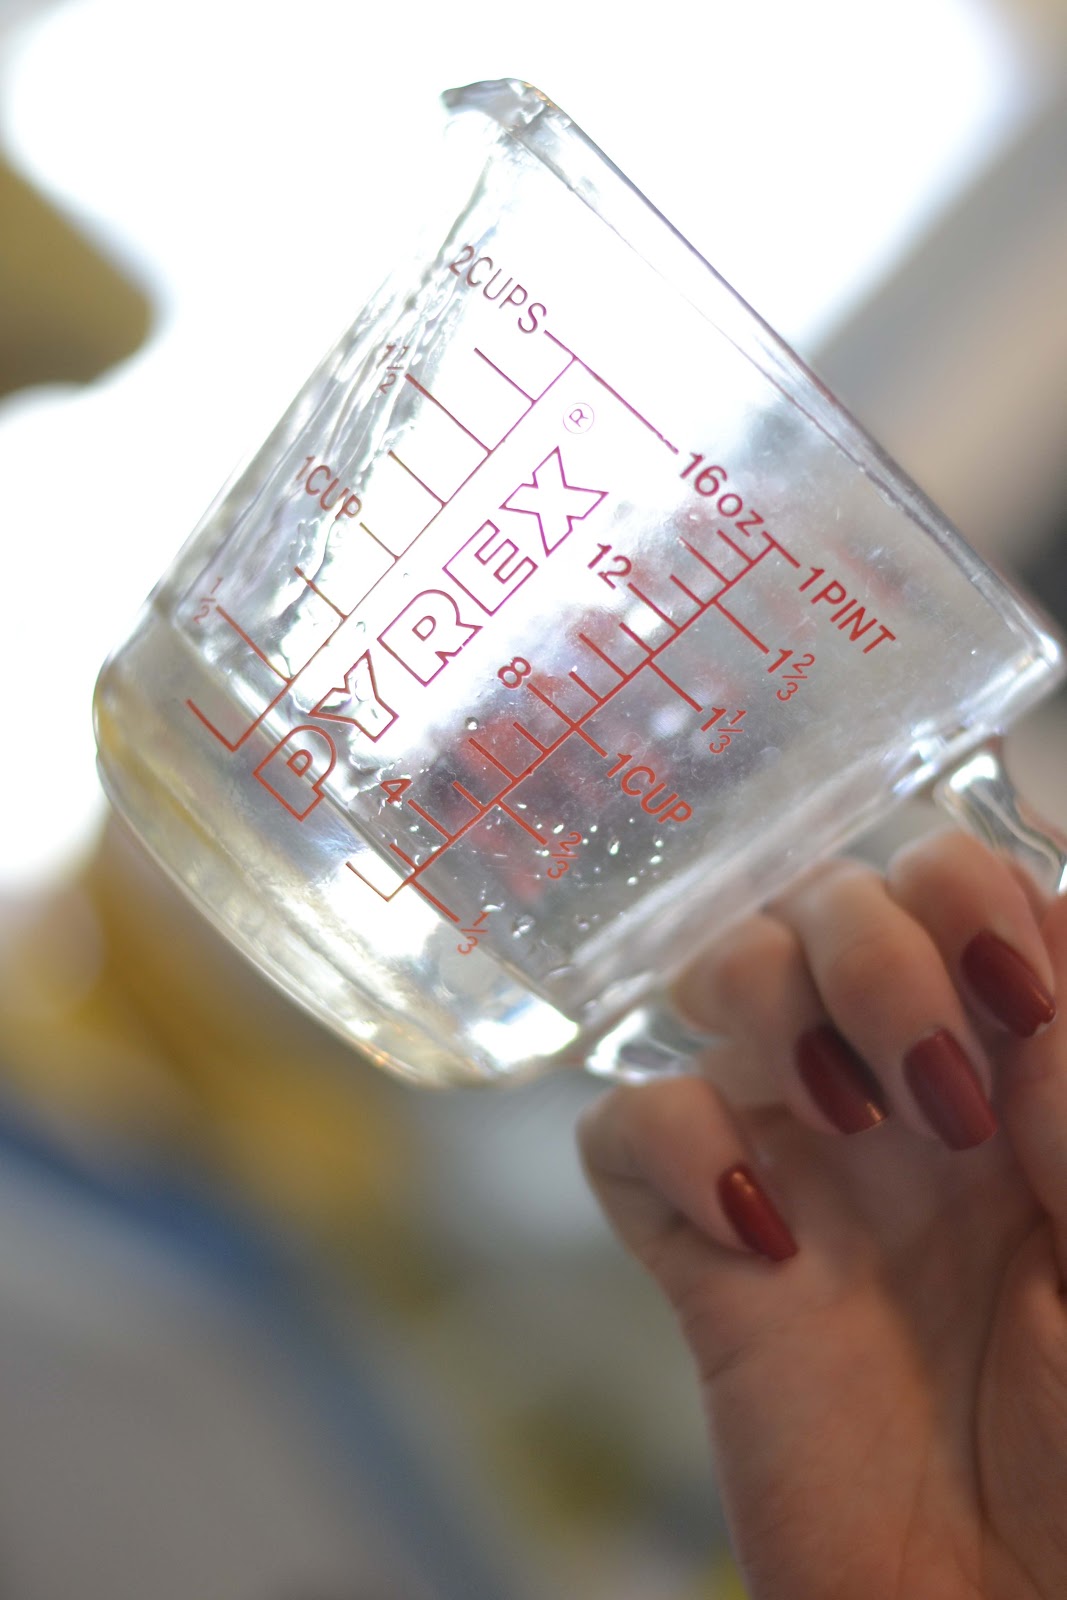
Mix this together until the sugar is completely moistened.


  Put your pot over medium/high heat and cook without stirring until the temperature reaches 300 degrees.


While your candy is cooking measure out you baking soda.


When your candy reaches 300 degrees remove it from the heat and whisk in baking soda.


Once all of the baking soda is mixed in pour it in to your prepared pan.


Leave this to cool...

Now while your pan is cooling try out the honeycomb that was left on your whisk. (You have to let it cool a little bit so you don't burn your mouth, but it will cool a lot faster than the pan!)


When your honeycomb is completely cool take it out of the pan and remove the foil.


The next step is to break your honeycomb up. I used a meat mallet.


After breaking your honeycomb apart you can either chose to leave it as is or dip it in chocolate. I did half and half with mine.

The recipe calls for dark chocolate but I used semi-sweet because that is what we had on hand and it worked well.

 Put your chocolate chips in a bowl...


... add some shortening and melt it in the microwave.


Dip the honeycomb in the chocolate using two forks, and there you have it! Homemade honeycomb... the perfect gift for any occasion!


Enjoy! Lane Elizabeth


Sunday, September 9, 2012

Peperoncini and Chicken Sandwich

Just recently we celebrated my dad's birthday, I decided that I wanted to make him a birthday lunch... the only thing stopping me was... What was I going to make? I thought about what had been sounding good to me lately and what I had been wanting to cook, and I thought of this.

I thought this recipe sounded amazing, but, it would need a few changes to make it light enough for lunch.


So, I decided to make a sandwich instead of having a whole chicken breast. I also decided to use cream cheese instead of goat cheese.

Here is a list of ingredients:
 (This recipe should make about eight sandwiches)

Sandwich rolls (You can make rolls if you want but I decided I was... well... too lazy! So we bought rolls.)
3 Boneless skinless chicken breasts
8 oz. Cream cheese
9 Peperoncini's
1 T Dîjon mustard
A couple shakes garlic salt
1 T Olive oil
1 t butter
Salt and pepper


Let's get started with the cooking!
  
Start by pounding your chicken.


Then heat your frying pan up to 300 degrees.


Add your olive oil...


... and the butter to your pan.


Put your chicken in the pan to cook.


Salt and pepper your chicken.


Continue cooking your chicken.


Then flip it over to cook the other side.


Saute chicken until cooked through.


Toast your rolls.


While your rolls are toasting mix your spread.

   Start by putting your cream cheese into a small bowl...


Check on your rolls!

... then dice your peperoncini's.


Check that bread again!

Add your peperoncini's to your cream cheese.


Add in some garlic salt...


Okay the bread is probably done by now... so go ahead and take it out!

... and your dîjon mustard.


Mix this all together.


Set your spread aside... and cut your chicken.


Now it's time to assemble your sandwiches.

Put your spread onto your toasted rolls.


Add your chicken.


Cut it in half... and there you have it!


A yummy sandwich!


Enjoy! Lane Elizabeth

{All photo's are credit to my wonderful sister! Check her out at Zelda's Zoom}